Contents
- Choose the purpose of your inventory
- Define an area small enough to finish
- Look at each item without retracing its whole history
- Keep categories simple and consistent
- Distinguish condition from availability
- Photograph only what supports your goal
- Take an initial look without jumping to conclusions
- Plan a quick, simple update
- Frequently asked questions
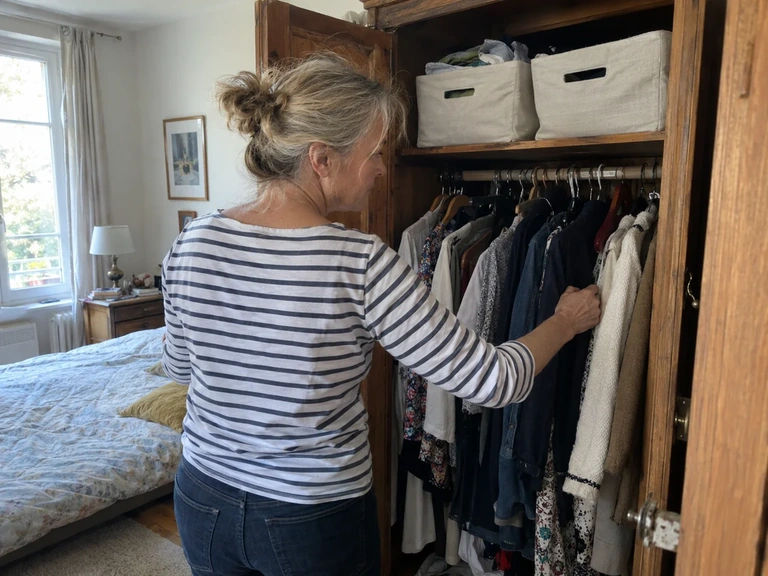
You want to know what’s in your wardrobe, but the thought of laying everything out on the bed feels overwhelming. You can take inventory gradually without turning your bedroom into a project zone. Just choose a small area, note what you’ve actually checked, and leave yourself a clear place to pick up again.
To inventory your wardrobe without taking everything out, work one spot at a time, then group the results by clothing type. Separate the pieces you have, the ones temporarily elsewhere, and the areas you haven’t checked yet. That gives you a useful list without mistaking a first pass for a complete inventory.
Choose the purpose of your inventory
Think about what you want a clearer view of: duplicates, forgotten clothes, pieces to repair, or outfit possibilities. That goal determines how much detail is useful. If you just want to know how many shirts you have, a simple list may be enough. If you’re building a digital wardrobe, you’ll need a few more details and some photos.
Avoid starting with a highly detailed system you won’t want to keep up. A category, a short description, and a location are already a good foundation. You can add details as you need them. Taking inventory doesn’t have to mean decluttering: you can observe and count first, then decide what to store or donate later.
Define an area small enough to finish
Choose a drawer, a shelf, or part of a clothing rack. You should be able to check the area and put everything back within the time you have. If you only have a few minutes, start with a small set instead of an entire category spread across several rooms. That way, you won’t leave piles out or lose track.
Write down the name of the area before you start, for example, “top shelf, left side.” It may seem simple, but it’ll help you pick up later without checking the same clothes twice. In a deep wardrobe, work from front to back using a clear marker. Don’t assume the visible part is the whole shelf.
Look at each item without retracing its whole history
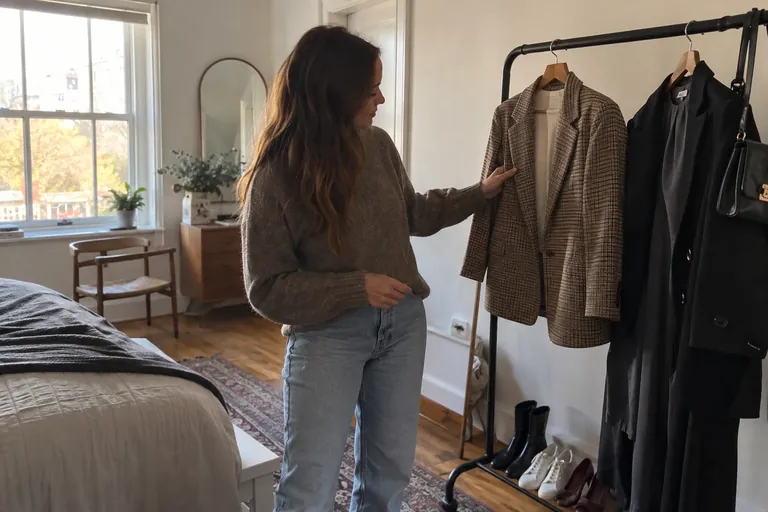
Pick up the garment, identify its category, and describe it clearly enough to find again: blue striped shirt, straight black pants, short ecru cardigan. Quickly check its condition and usual location. You don’t need to look up its original price, exact purchase date, or every time you’ve worn it right away.
If you’re missing information, leave it for later instead of making it up. You can mark an unreadable fabric label or a size with a missing tag as unverified. The goal is a reliable list, even if it’s imperfect, not a fully completed record at all costs. You can fill in details later while trying the piece on or caring for it, when you have it in hand for another reason.
Keep categories simple and consistent
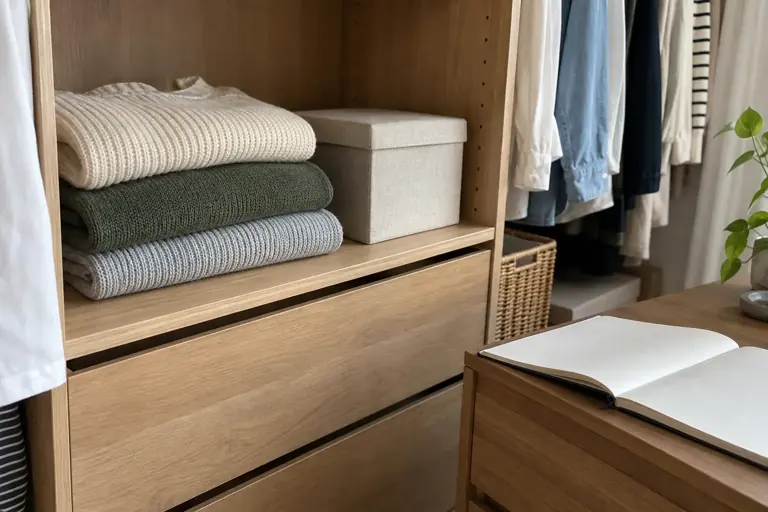
Choose a few categories that make sense to you: tops, bottoms, dresses, warm layers, jackets, shoes, and accessories, for example. If a piece could fit in two groups, pick your own rule and use it consistently. You might classify a cardigan with knitwear or outer layers, depending on how you organize things; the main thing is being able to find it.
Avoid creating a new category for every garment. You can refine the groups later if one gets too large. In this first pass, categorizing should help with the inventory, not slow you down. Our guide to organizing your closet provides visibility cues that complement the list. The physical storage and the description should remain easy to understand in relation to each other.
 Read alsoWomen’s capsule wardrobe: a list of essentials and how to choose yours
Distinguish condition from availability
A garment in your wardrobe isn’t always ready to wear. It may need washing or repairs, be on loan, or be stored away for the season. Add a simple status if that information helps you. That way, you won’t count an item you can’t use this week as available.
Keep “temporarily away” separate from “permanently out of your wardrobe.” A jacket on loan to a friend isn’t in the same status as a garment you’ve already given away. For items stored elsewhere, note their location or the next action to check. Don’t count them twice when you later look through the laundry bag or seasonal storage box. A clear list should reflect the real situation, not just the memory of what you bought.
Photograph only what supports your goal
If you’re putting together a digital wardrobe, photograph your pieces in simple, consistent conditions. A clear image helps you recognize the garment; it doesn’t need to look like a product photo. Keep the background and lighting as consistent as possible, then check that the useful details are visible.
You can also start without photos to finish taking inventory of one area, then set aside another session for the images. This way, you won’t get stuck because the lighting isn’t right or you’re short on space. Our guide to virtual try-on and digital wardrobe explains how to use these photos as visual references. The image complements the item details; it doesn’t replace a description precise enough to tell two similar pieces apart.
Take an initial look without jumping to conclusions
At the end of an area, look at what you’ve learned: several similar tops, a forgotten item, a repair waiting to be done, or a hard-to-reach spot. These observations are useful, but they don’t represent the whole wardrobe yet. Clearly note the areas you still have to check before deciding you’re missing a certain type of garment.
You can spot combinations to try without deciding right away whether to let anything go. Two pairs of black pants can serve different purposes; three similar shirts might feel redundant once you’ve tried them on. The inventory sets you up to think it through. It gives you concrete details to work with when you sort things later, without making you decide about every garment during the counting session.
Flip cards
Keeping a reliable inventory
An item is at the dry cleaner’sFlip
Note that it’s temporarily elsewhere and add a reminder to pick it up, without counting it as ready to wear.
A box hasn’t been opened yetFlip
Mark the area as unchecked instead of guessing what’s inside from memory.
Two tops look very similarFlip
Add a distinguishing detail, such as the length, neckline, or visible fabric.
The session needs to endFlip
Finish the small area you’re working on, put the pieces back, and note exactly where to pick up next time.
Plan a quick, simple update
Choose an easy time to update the list: when an item comes in, goes out, comes back from a loan, or goes for repairs. You don’t need to redo the whole inventory every time something changes. A quick update is easier to keep up with than a big annual project that gets put off.
In Vestly, you can find the clothes you’ve added to your wardrobe and explore ways to pair them. Keep your own organization consistent with what you’ve actually saved. If there’s an area you haven’t tackled yet, leave it visible in your tracking. Your inventory becomes more complete over time while still being useful from the first steps, helping you see what clothes are available and plan outfits with them.
Check off
My wardrobe area is inventoried
0 / 5
One full step is complete; you can pick it up later without emptying everything out.
Watch a practical example
A visual example from beepworld to compare with the steps in this guide.
Video in English
Frequently asked questions
Should you count accessories from the start?
You can set aside an area or a separate session for them. Start with what serves your goal, then clearly note what’s left to inventory.
Does taking inventory mean you have to get rid of clothes?
You can observe and document first. Sorting and deciding what to remove can come later, once you have a better view of everything.
How can you avoid duplicate entries in the list?
Match each item with a location and a distinct description. Mark areas you’ve already checked, and watch for clothes moved between sessions.