Contents
- Decide whether ironing is useful
- Check the care instructions before setting the appliance
- Prepare the ironing board, iron, and space
- Start with the small parts of a shirt
- Protect dark fabrics and delicate surfaces
- Iron pants without creating a crease that isn’t there
- Let the garment cool and check the result
- Frequently asked questions
- Sources and references
Ironing often gets tricky when you try to do everything with the same setting, at the last minute. A light-colored shirt, dark pants, and a printed blouse all go under the iron without a pause, then a shiny mark or misplaced crease appears. Working by section takes less guesswork and lets you stop before causing damage.
To iron without damaging clothes, check what the garment allows, prepare a stable surface, and start on an inconspicuous area with a suitable setting. The iron should improve the fabric’s appearance, not force a shape or remove a stain.
Decide whether ironing is useful
Look at the garment on a hanger or lay it flat properly before plugging in the iron. Some clothes look good again after being dried carefully and smoothed by hand, when care instructions allow. For others, the collar and cuffs may need attention while the body can stay relaxed. Choose the finish you want for your outfit instead of ironing every surface out of habit.
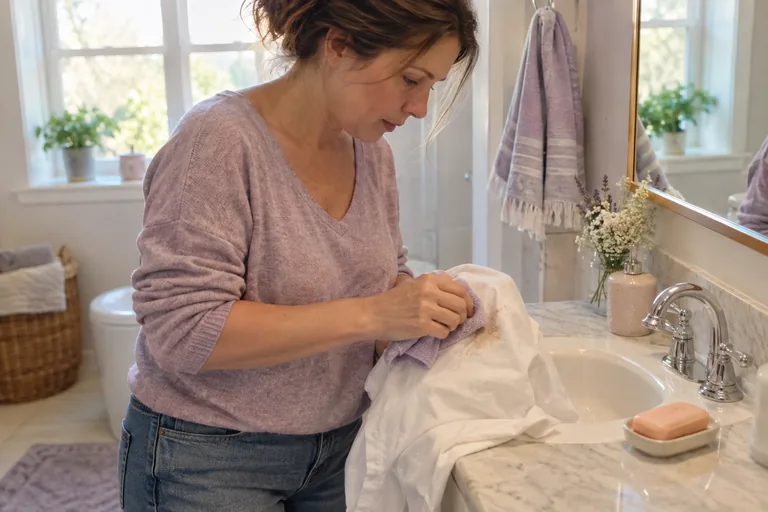
If the garment has a stain, address it first with a compatible method. Heat can make some stains harder to remove. Our guide to remove a stain from clothing can help you choose the right order. A lingering odor isn’t an invitation to spray perfume on the garment and then iron it either: start with the right care.
Check the care instructions before setting the appliance
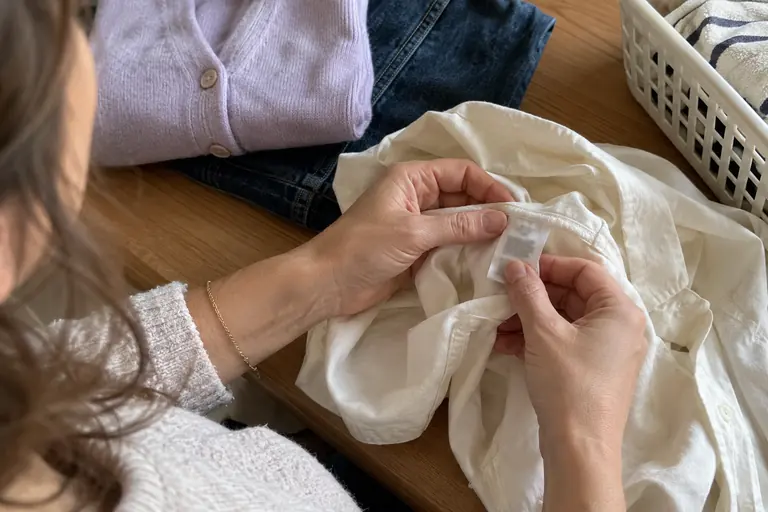
The care symbol and the manufacturer’s instructions apply to the entire garment. A fiber blend, coating, print, or lining may limit what you can do, even if it would be fine on the main fabric alone. Don’t assume that every garment containing cotton can handle the highest setting. If ironing is prohibited, choose another approved way to freshen up the garment.
Our guide to understanding clothing labels can help you understand the symbols. Check your iron’s manual too: settings, water requirements, and cleaning instructions vary by appliance. Steam isn’t automatically suitable for every surface. If you’re unsure about a particular garment, it’s better to ask for advice than to test different combinations of heat and moisture.
Prepare the ironing board, iron, and space
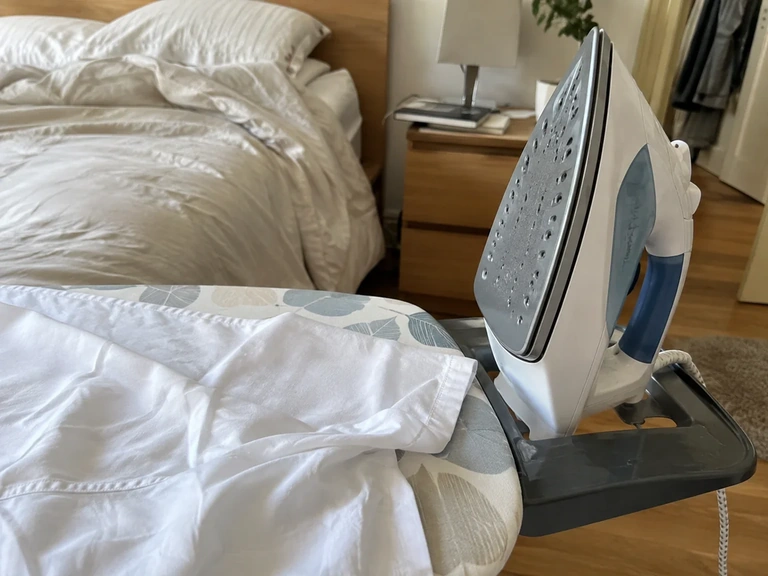
Set up a stable ironing board with a clean cover and suitable padding. An uneven surface can leave marks on the fabric. Make sure the cord isn’t pulling on the iron or crossing a walkway. Keep a safe place to rest the iron as described in its manual, and don’t leave it touching a garment during a break.
Check the soleplate while it’s cool. If there’s residue or a mark, clean it according to the manufacturer’s instructions before bringing it near a light-colored shirt. Have a clean pressing cloth ready if it’s suitable for the garment. Keep children and pets away from the setup, and never iron a garment while someone is wearing it. Wait for the appliance to cool before putting it away.
Start with the small parts of a shirt
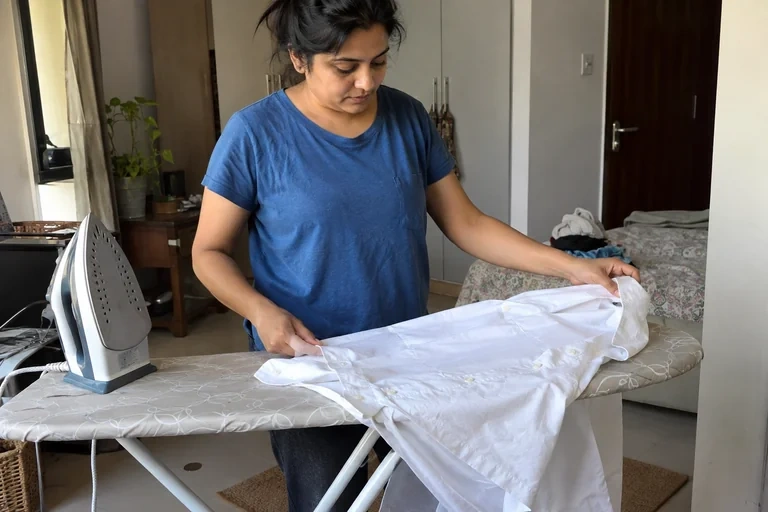
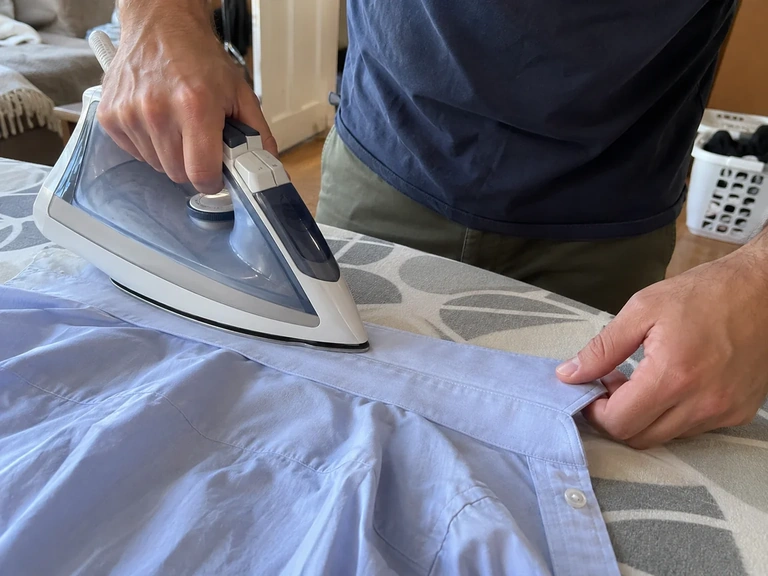
For a shirt that can be ironed, start with the easy-to-flatten details: the collar, cuffs, then sleeves, depending on how they’re made. Smooth the fabric without pulling it. A twisted seam won’t necessarily straighten with more pressure, so reposition the garment first. Work around the buttons instead of ironing over them.
Move on to the shoulders and body panels, shifting the shirt so you don’t iron a crease you just made. Keep one hand away from the soleplate and steam. If you want a crease down the sleeve, line it up on purpose; otherwise, adjust the position to avoid making one by accident. The goal is a steady, organized process, not one continuous motion across the whole board.
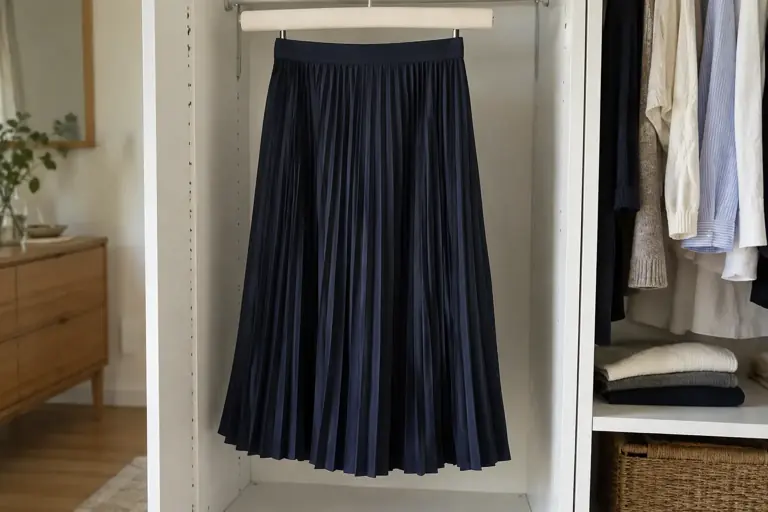 Read alsoCare for pleated clothing without guessing about washing, steaming, or storage
Protect dark fabrics and delicate surfaces
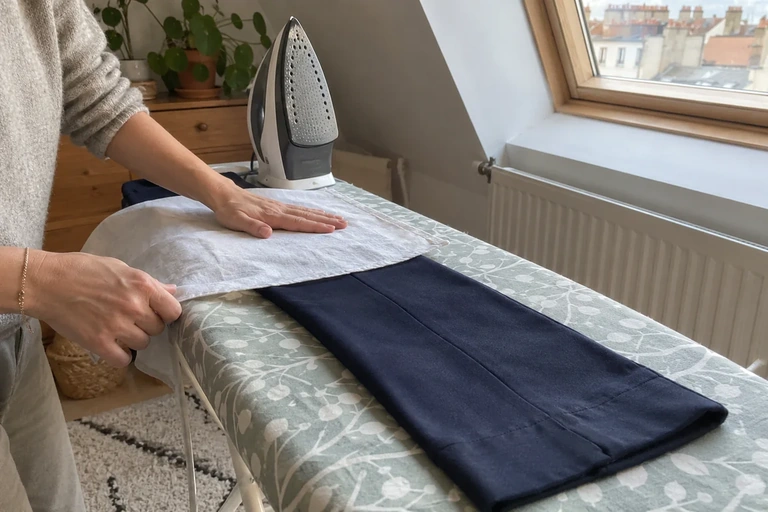
On dark pants, unsuitable pressure or heat can change the surface appearance. Follow the garment’s care instructions for turning it inside out and using any recommended protection. Test on an inconspicuous area, then check the result once it has cooled before working over a larger area. Stop immediately if the fabric becomes shiny.
Don’t iron directly over a print, patch, button, or zipper unless the care instructions explicitly say it’s safe. A pressing cloth doesn’t make every temperature suitable; you still need the right setting. On pleated fabric, a heat-bonded piece, or a very structured garment, some shapes are intentional and can be altered. If you’re unsure how to preserve the construction, have a professional finish it.
Iron pants without creating a crease that isn’t there
Lay the pants in their usual shape and locate the seams. Casual jeans, chinos, and pants with a sharp crease call for different results. If you want to keep an existing crease, line it up carefully before you start. For a leg without a crease, reposition the fabric so you don’t create one by pressing overlapping edges together.
Pockets and thick layers can leave marks on the surface. Move the garment to work around those areas as much as possible, without pulling on the waistband or seams. If your main goal is to shorten or adjust the fit, ironing isn’t the answer. Decide on alterations with the garment on and dry, wearing the shoes you plan to pair with it.
Let the garment cool and check the result
Place the finished garment on a suitable surface, without immediately piling it up with the rest of the laundry. Let it cool and finish drying if you used moisture. This pause also gives you a chance to see whether a crease is still bothersome or an area really needs another pass. Don’t automatically re-iron the whole garment over a barely visible detail.
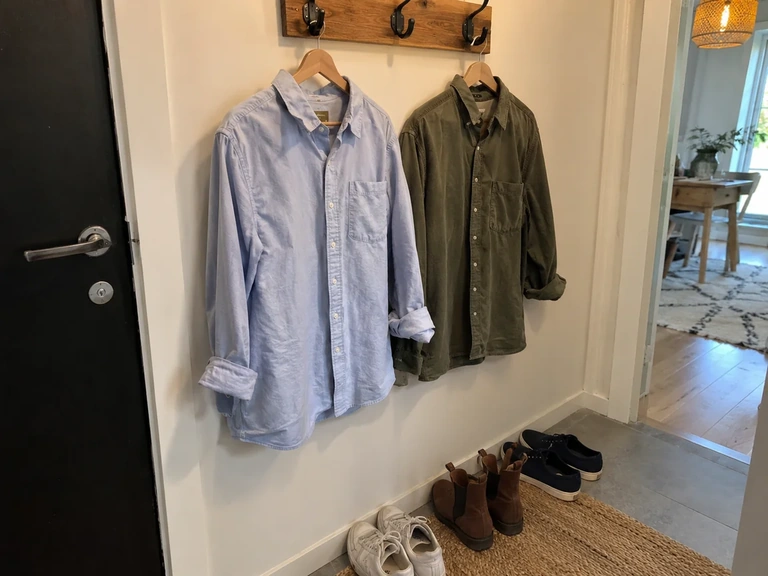
Then put it away without unnecessarily compressing the areas you’ve just prepared. A shirt on a suitable hanger will be easier to put on tomorrow. Our guide to wearing a white shirt offers pairings that make the most of this simple piece. In Vestly, save your favorite pairings so you can quickly choose a look with clothes that are ready to wear.
Check off
My ironing session is ready
0 / 6
You can work in small sections, checking the result before applying more pressure.
Watch a practical example
A visual example from GQ to compare with the steps in this guide.
Video in English
Frequently asked questions
Does a garment steamer replace every precaution?
No. Steam and heat are still treatments. Check that they’re suitable for the garment and follow the appliance instructions, especially for distance and conditions of use.
Should you press harder on a stubborn crease?
Not necessarily. First reposition the fabric and check that the method is appropriate. More pressure can leave a mark without fixing the cause of the crease.
Can you iron a garment that’s still damp?
It depends on the garment, the care instructions, and the appliance. Don’t assume a habit that works for a cotton shirt will also work for a blouse or pants made differently.
Sources and references
- GINETEX, care labeling expertise center, accessed September 30, 2026: interpreting ironing instructions.
- Vestly, app overview, accessed September 30, 2026.