Contents
- Create a limited waiting area
- Describe the flaw precisely
- Separate repairs from changes to the fit
- Choose what you can do yourself
- Prepare the pieces for a workshop
- Weigh the cost against expected use
- Check whether you can use the Repair Bonus
- Track the return through the final try-on
- Check the result before putting the garment back into use
- Frequently asked questions
- Sources and demonstration
A button is missing from a shirt, a seam is coming undone, and a zipper isn’t working properly. These small problems can leave several garments unworn for months, simply because they’re all piled in a basket with no next step. Organizing them helps you decide what you can do at home and what needs a workshop.
To organize clothing repairs, describe the flaw on each piece, choose a clear next step, and start with a small batch. Check the result before putting the garment back in your wardrobe. A repair is complete only when the piece is usable again for its intended purpose.
Create a limited waiting area
Gather the affected clothes in a clean, easy-to-identify spot. Keep them separate from pieces that are ready to wear or already scheduled for care. A small, visible area is enough; a large closed box could just move the problem without helping you solve it.
Choose an amount you can inspect without spending the whole day on it. You can take care of the rest later. The first goal is to find the pieces you really miss, not to fix your entire wardrobe all at once. If a garment is damp or dirty, follow its care instructions first before placing it with the other pieces waiting for attention.
Describe the flaw precisely
Look at the affected area: a missing button, an open seam, torn fabric, a loose lining, a zipper slider, or stretched elastic. Avoid a vague note like “needs repair.” A precise description helps you gather the right supplies or explain the request to a professional without starting over.
Also check the area around the damage. A button may have fallen off intact fabric, or it may have torn an already weakened area; the repair will be different. Our guide to recognizing a garment’s quality and construction can help you inspect the seams and finishes. Don’t cut the threads or damaged areas before you know what needs to be kept for the repair.
Separate repairs from changes to the fit
Repairing a seam isn’t the same as shortening pants or altering a jacket’s fit. Both can be useful, but they meet different needs. Write down what you want: to restore the garment’s original function or change how it fits you.
This distinction helps you request a clear estimate and check whether any assistance may apply. Don’t assume a fit adjustment automatically qualifies for a program intended for repairs. Refashion’s official Refashion Repair Bonus page lists the eligible services and products; the repairer can confirm what applies to your request at the time of your appointment.
Choose what you can do yourself
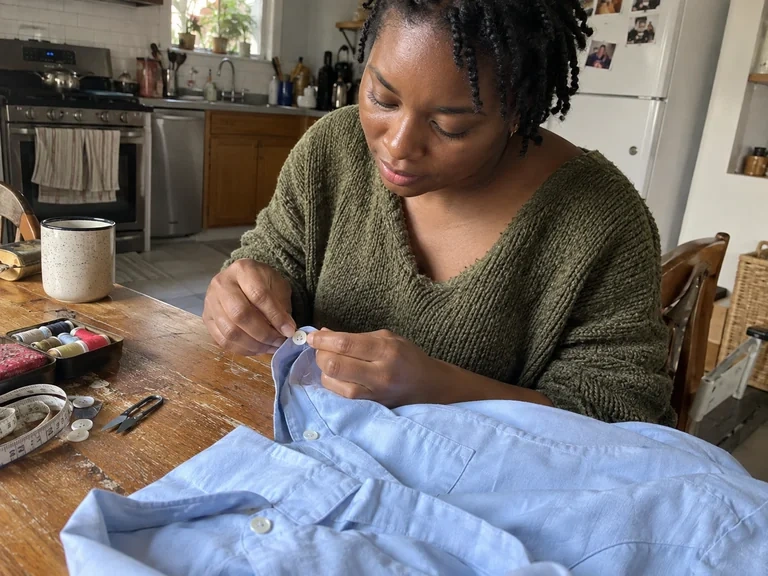
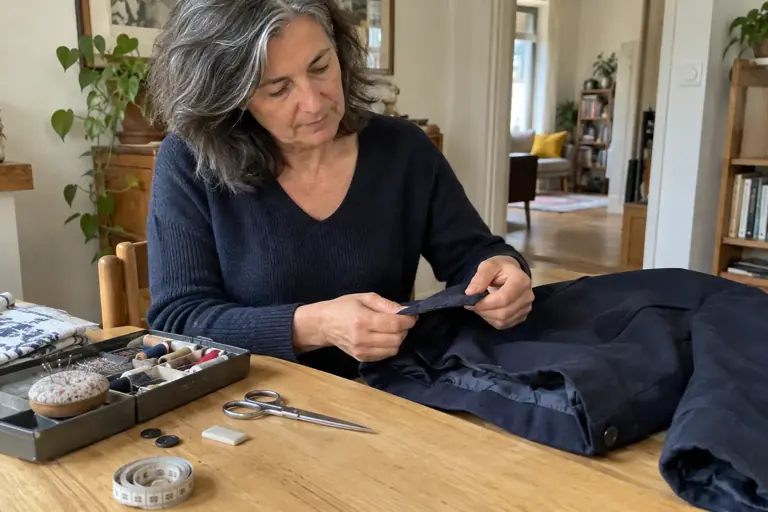
Start with a repair you understand and have the right supplies for. Sewing a standard button onto intact fabric can be a first project, while a complex lining or a specialty zipper requires different skills. You don’t need to buy a full set of tools for every piece.
A visual example from slow stitch club to compare with the steps in this guide. Related guide: sewing on a button.
Video in English
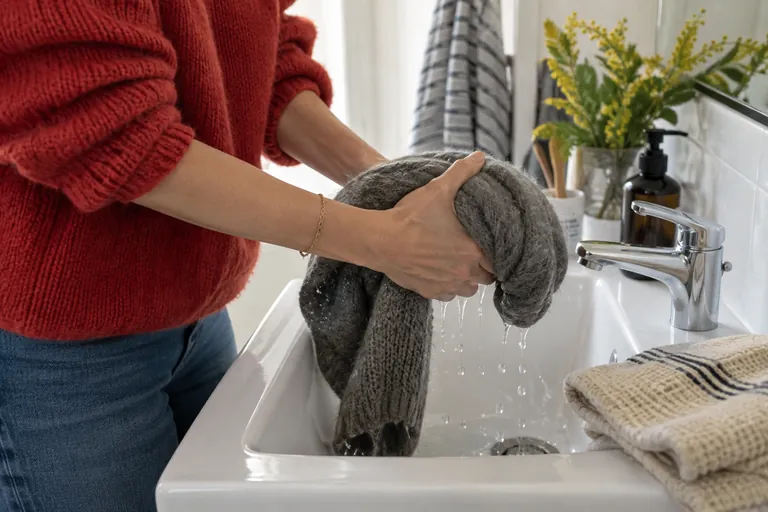 Read alsoHow to wash a wool or cashmere sweater without felting it
Prepare the pieces for a workshop
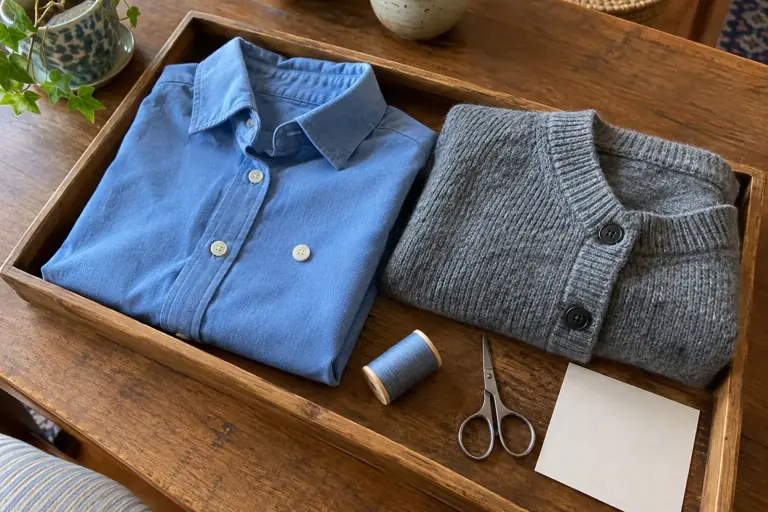
Bring the garment clean and dry, along with the spare button or detached piece if you kept it. Show the problem and explain how you plan to use the garment. For a fit alteration, bring the shoes or top you’ll wear with it so the fitting reflects the complete outfit.
Ask what will be done, what will still be visible, how much it will cost, and how long it will take. If there are several options, compare the results instead of choosing only the cheapest one. An invisible repair, a visible mend you embrace, and a full replacement won’t give you the same result. The professional needs to examine the garment; a photo can help you prepare for the conversation, but it won’t always show the lining or fabric allowance.
Weigh the cost against expected use
Consider whether you’ll still want to wear the garment once it’s repaired. A comfortable piece that fits well in your wardrobe and is in good shape otherwise may be worth repairing. On the other hand, fixing one detail won’t solve a fit you no longer like or fabric that’s worn in many places.
You can compare the estimate with the additional wears you have in mind, keeping in mind that this calculation is only an estimate. For example, a hypothetical €24 repair for thirty additional wears would come to €0.80 per additional wear. This doesn’t predict the garment’s actual lifespan. Our guide to the cost per wear helps you tell a useful calculation from a promise of value for money. Cost is just one factor in your decision, alongside comfort, condition, and how much you like the piece.
Check whether you can use the Repair Bonus
Refashion says the bonus applies at certified repair shops, directly at checkout, for eligible repairs. Check the current list and directory before you go. Eligible items and amounts may change, so it’s more reliable to check whether your repair qualifies than to rely on an old poster or a single amount.
Ask the professional whether your repair qualifies for the program and how it will appear on the invoice. Don’t deduct the aid yourself from an estimate that doesn’t mention it yet. The official Repair Fund FAQ explains the general framework. Keep the information you need for your appointment handy, without adding extra steps if your planned repair doesn’t meet the requirements.
Track the return through the final try-on
Write down the items you leave with the repair shop, the pickup date, and the receipt they give you. When you collect the garment, check the repaired area and test the part that was fixed: zipper, button, seam, or support. For an alteration, try it on again with the shoes you plan to wear before deciding the job is done.
Then put the garment back in its usual place and take it out of the waiting area. In Vestly, find the outfits she can wear again. This final step matters: a repaired item left forgotten in her bag is still going unused. You can tackle the next batch once the first pieces are back in rotation, rather than piling on new projects without finishing the earlier ones.
Flip cards
What next step should you note?
Missing button, fabric intactFlip
Find the button and get ready for a simple repair, or ask a repair shop to attach one.
Torn fabric around a zipperFlip
Have the construction examined before replacing just the zipper.
Pants are too long but intactFlip
Get ready for an alteration fitting with your usual shoes.
Several issues on a very worn garmentFlip
Ask for an overall assessment before committing to several separate repairs.
Check off
My repair batch is moving along
0 / 5
Repairs have a concrete next step and a verifiable finish.
Check the result before putting the garment back into use
When you get the item back from the repair, check the area in question with the garment laid flat, then try it on if the alteration affects the fit. Fasten the button, use the zipper, or make the movement that revealed the original problem. This check lets you see whether the issue has really been resolved, without waiting until the day you need to wear the item.
Keep a record of the work done and any care instructions from the professional. If the result needs an adjustment, describe what you noticed precisely: the area, movement, length, or closure involved. A specific request makes it easier to move forward than a general comment about the garment. Once you’ve approved the repair, put the item back with your available clothes and update your list so it’s no longer marked as pending.
Frequently asked questions
Should you repair everything at once?
A small batch is often easier to keep track of. Start with the clothes you need and the repairs you can arrange now, then take care of the rest.
Does a clothing alteration automatically qualify for the bonus?
No. Check the official list and confirm your request with a certified repairer. A change to the fit shouldn’t be confused with an eligible repair.
When is a repair considered complete?
When the garment has been picked up, checked, and tried on for its intended use. Simply dropping it off at the workshop isn’t enough to put it back among the clothes available to wear.
Sources and demonstration
- Refashion, Repair Bonus, accessed October 1, 2026.
- Refashion, overview of the Repair Fund, accessed October 1, 2026.
- slow stitch club · Mending tools: what you need to get started with visible mending. Video selection checked October 17, 2026.