Contents
- Check the problem before threading your needle
- Gather a small, suitable sewing kit
- Choose the right replacement button
- Find the correct position
- Sew on a two-hole or four-hole button
- Leave enough space and secure the thread
- Test the repair before putting your sewing kit away
- Frequently asked questions
- Sources and references
A missing button can keep an entire shirt out of rotation even when the fabric, cut, and other closures are still in good shape. The repair seems tiny, but it takes a little more than a few tight stitches placed at random. You need to find the right position, choose a compatible button, and leave enough space for the buttonhole to slip over it without pulling.
To sew on a classic four-hole button, prepare sound fabric, position the button opposite its buttonhole, and make several even passes without compressing the layers. This guide covers simple hand sewing, not attaching a snap, a jeans rivet, or a button that requires a specialized tool.
Check the problem before threading your needle
Look at what actually gave way. If only the thread broke and the fabric is intact, the repair is often manageable. If the button came off with a piece of fabric, sewing it back in the same spot without reinforcement could lead to the same problem. A torn buttonhole also needs a different repair: the button can’t make up for an opening that’s become too large.
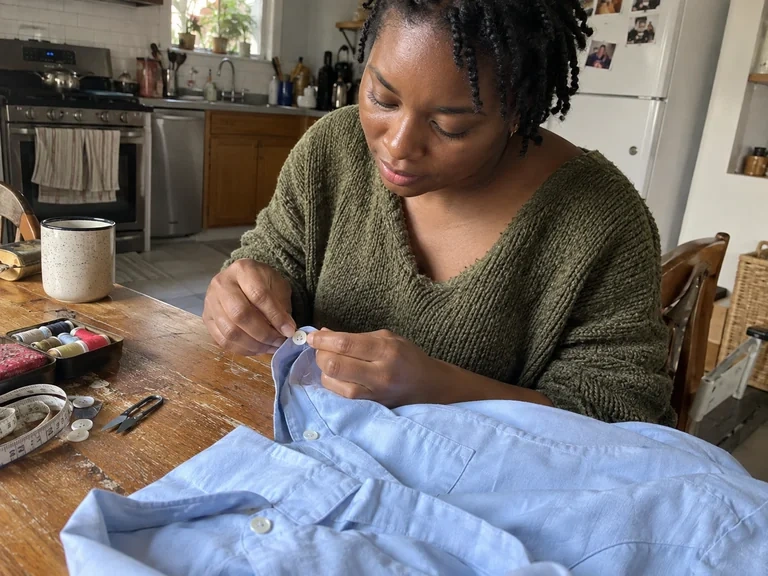
Check the garment’s other buttons. One of them can serve as a guide for the thread color, stitch direction, and space underneath. Don’t pull on it to test how secure it is; just look for threads that are coming loose. If several buttons pull open when you wear the garment, consider whether it fits comfortably, too—not just how it’s sewn.
Gather a small, suitable sewing kit
Set up at a stable table with enough light. Gather a needle suited to the fabric’s thickness, compatible sewing thread, small scissors, and the button. A needle that’s too large can leave holes in delicate fabric; one that’s too flimsy can be hard to use through several layers. A thimble may help, depending on what you’re used to.
Choose a thread close in color to the neighboring buttons if you want a subtle result. Cut a manageable length, about the length of your forearm, instead of a very long thread that can tangle. Thread the needle and tie a knot suited to your method, using a single or doubled thread. Put away any unused needles right away, and keep small items out of reach of children and pets.
Choose the right replacement button
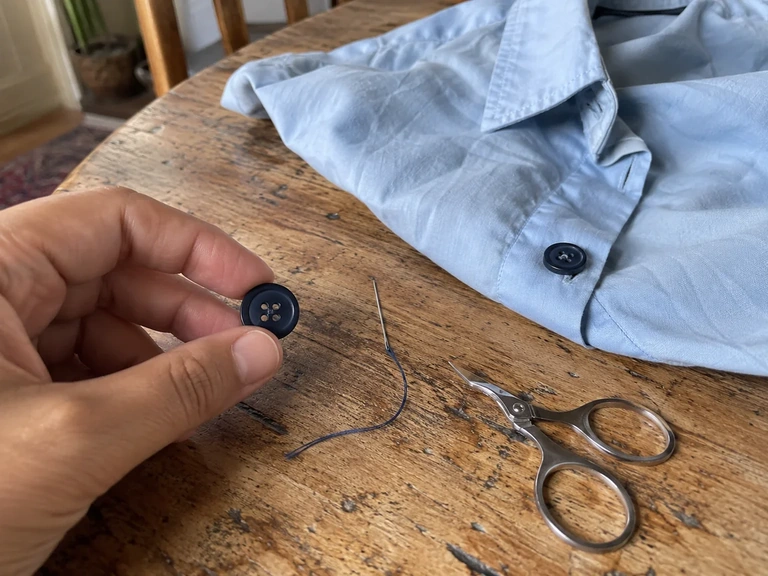
The original button is the easiest choice if it’s intact. Look for a spare button that may be sewn inside or included with the garment. If you need to buy one, compare its diameter, thickness, and attachment style. Two buttons with the same diameter can behave differently if one is much more domed.
Gently pass the button through the buttonhole before sewing it on. It should go through without too much force and stay securely in place. A button that’s too small may come undone during the day; one that’s too thick can make the garment hard to close. For a very visible garment, replacing a small set of buttons with a matching set may be preferable, but decide on that style choice before sewing.
Find the correct position
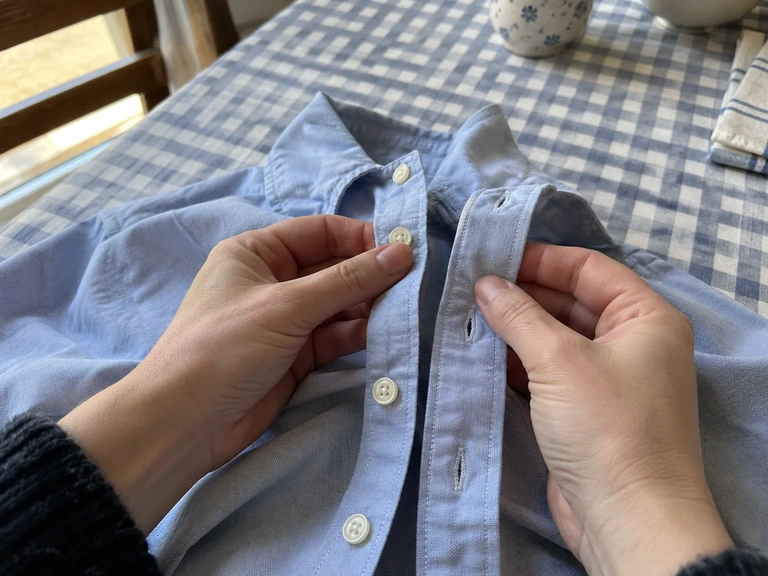
Lay the garment flat in its closed position. Align the two edges without stretching them, then compare the neighboring buttons with their buttonholes. The old thread holes can guide you if the original stitching was well placed. Don’t rely on them blindly if the garment was already closing unevenly.
Mark the spot discreetly with a fabric-safe tool, or keep your place by watching the nearby seams. Check that you won’t sew through a pocket or two layers that need to stay separate. For a sleeve, keep it open and isolate the cuff. Take a moment to picture where the needle will come out before you stitch.
 Read alsoHow to wash a wool or cashmere sweater without felting it
Sew on a two-hole or four-hole button
Start by securing the thread in the right area, on the wrong side or within the appropriate layer, depending on the garment’s construction. Bring the needle out where the button will go, pass it through one hole, then return through the opposite hole and the fabric. Keep the button in place. Repeat with even stitches until it’s secure, without building up so much thread that the holes get blocked.
For a four-hole button, match the pattern of nearby buttons if possible: two parallel lines or a cross. Sew through one pair of holes, then the other, keeping the tension even. Don’t pull the button so tight against the fabric that the buttonhole can’t pass over it. A little space is especially useful when the garment has several layers. The stitches should feel easy; if the needle meets strong resistance, check your tools and where you’re stitching.
Leave enough space and secure the thread
For a button with holes that needs it, the thread can form a small shank beneath the button. First leave enough room for the thickness of the fabric that will be buttoned, then wrap the thread around the stitches beneath the button a few times. This shank keeps the space open without making the fabric pucker. On a lightweight shirt, leave just a little space; on a thick garment, you may need more.
Then bring the thread back to the wrong side or the appropriate finishing area. Secure it with backstitches or firm knots, and don’t cut it right next to a knot that’s still loose. Check that the thread doesn’t go through any part that needs to stay free. A shank button, which already has a loop underneath, is sewn through that loop and doesn’t need the same kind of shank.
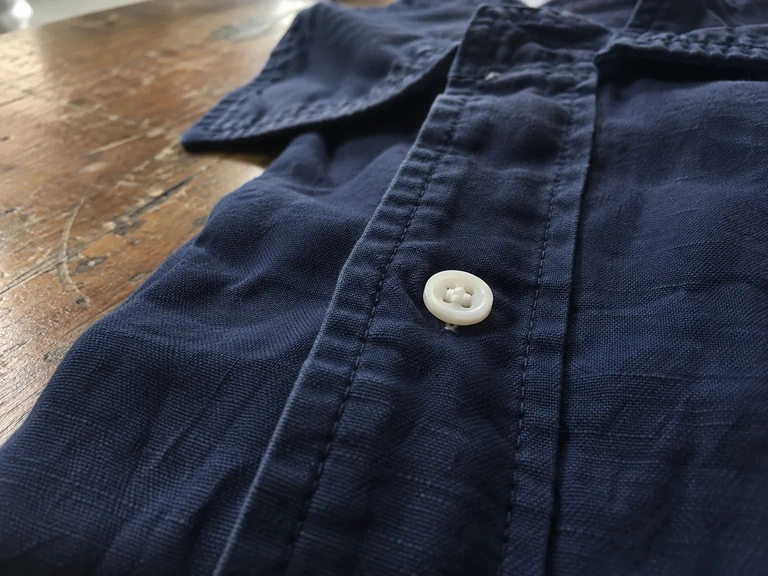
A visual example from Howcast to compare with the steps in this guide.
Video in English
Test the repair before putting your sewing kit away
Gently button and unbutton it a few times. Check that the buttonhole goes over the button without forcing it, both edges stay straight, and the fabric doesn’t pucker around the stitches. Then put the garment on to check how it moves in real life: bend your wrist, sit down, or fasten the front, depending on the garment.
If the button is in the wrong place, it’s better to redo it now than wear it under tension. Carefully unpick the stitches without cutting the fabric. For very fine fabric, a thick coat, or an already damaged area, a tailor can recommend the right reinforcement. Repairing a useful closure is a practical way to make your clothes last, especially when it makes a garment wearable again right away.
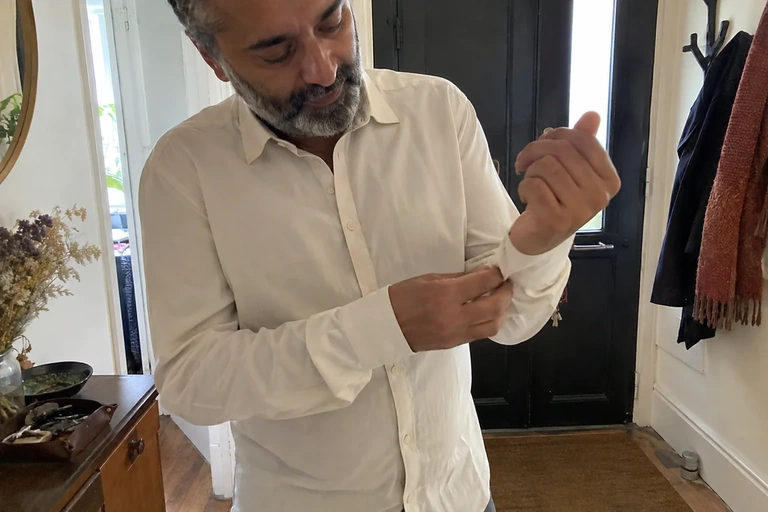
In Vestly, find a look for your repaired shirt with your digital closet and “Style Around.” It’s an easy way to bring the piece back into rotation instead of leaving it in a pile of small repairs.
Check off
My button is securely sewn on
0 / 6
The garment can go back into your looks: the repair has been checked in use.
Frequently asked questions
Can you sew on a rivet-style jeans button?
A rivet-style button doesn’t attach like a button with holes. It needs a compatible part and method. Don’t try to pierce the metal with a needle; ask for advice at a fabric store or repair shop.
Should you use very thick thread?
Not necessarily. The thread should suit the fabric, needle, and buttonholes. Thread that’s too thick can make sewing harder or add unnecessary bulk.
Why is the fabric puckering around the button?
The tension may be too tight, there may not be enough space under the button, or it may be in the wrong position. Also check that the garment has enough room when worn. Adding stitches doesn’t always fix the cause.
Sources and references
- Patagonia, repair guides and videos, accessed September 30, 2026.
- Howcast · How to Sew a Button by Hand. Video selection checked October 17, 2026.